In this blog post, Playwright installation with npm will be explained in step by step manner.
Before we get started, I need to mentioned a few pre-requisites that need to be installed prior to initial set up.
Step 0: Pre-requisites
- Node package Manager (npm)
- Node.js 18+
- macOS 13 Ventura, or later
Versions I used are as follows:
- npm 10.9.0
- nodeJS 22.12.0
- macOS 15.1 Sequoia
- Hardware: Mac mini M4 Pro
Step 1: Create a folder
Create a folder where Playwright project will get installed and then navigate into it:
mkdirplaywright-ts-demo
cd playwright-ts-demo
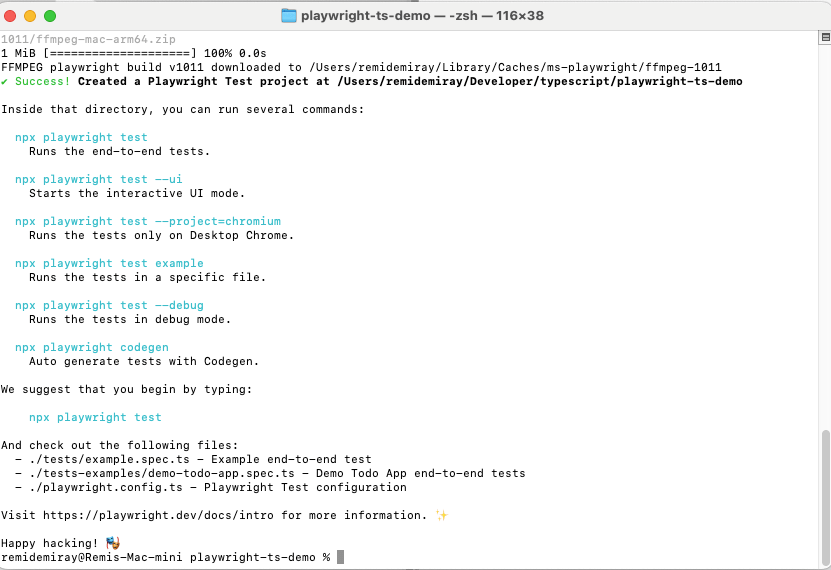
Step 2: Running npm init command
npm init playwright@latest
After running this command, you will be prompted to answer a few Yes/No questions about the project that is being initialized. Make sure to select TypeScript when the language option is prompted.
You can also download/clone initialized Playwright project directly from this Github link.
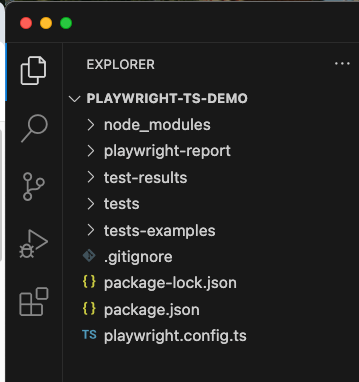
Step 3: Opening the Project with VSCode and running tests
Launch VSCode and open the folder that project has been initialized
Afterwards, you can head to the Terminal of VSCode and run the example tests as follows.
npx playwright show-report

As can be seen from the report, the same example test is run against 3 different browsers, namely: chromium, firefox, webkit (Safari)
To see the tests in action, you may need to add a few parameters to the command above
npx playwright test example.spec.js --headed --workers=1
Note that tests are so quick to run as they are very short tests
If you encounter any issues during project setup or initialization, make sure to refer to Playwright’s official documentation here => https://playwright.dev/docs/intro

![[Tiny-Tech-Tip] Locking Mac computers quick: Command + L](https://remidemiray.com/wp-content/uploads/2025/02/before-after-command-lock.png?w=545)


![[Master Thesis] A Novel Method For the Quantification of Coronary Artery Stenosis: A 2D QCA SYSTEM](https://remidemiray.com/wp-content/uploads/2025/01/gui.jpg?w=548)

Leave a comment